How to Make the Best Shredded Beef Taco Recipe in 7 Simple Steps
Did you know 72% of home cooks get frustrated when their shredded beef tacos turn out dry or flavorless? And who can blame them – tacos are meant to explode with juicy texture and bold seasonings. But too often, the delicious promise of tender shredded beef taco recipe crumbles into disappointment when shortcuts compromise quality.
But what if I told you achieving mouthwatering, fall-apart tender beef tacos is easier than you think? By mastering just 7 simple steps, you’ll join the elite 28% who consistently create unforgettable taco nights that have family and friends begging for your secret. Whether you prefer fiery barbacoa shredded beef or the comforting embrace of slow cooked beef tacos, this method unlocks the authentic soul of mexican shredded beef with minimal effort. Even better – I’ll show you how to achieve perfection whether using your oven, slow cooker, or pressure cooker magic for instant pot beef tacos.
Let’s transform that craving into reality and make every taco Tuesday legendary!
Table of Contents
What You’ll Need to Create Shredded Beef Bliss
Here’s your essential toolkit for crafting the ultimate shredded beef tacos:
For the Beef & Marinade:
- 2.5 – 3 lbs chuck roast or beef brisket (fat cap intact for incredible flavor and moisture!)
- 4 cloves garlic, minced (use fresh – jarred simply can’t touch the flavor here)
- 1 large yellow onion, roughly chopped (their natural sweetness balances the spices)
- 1/4 cup fresh lime juice (from 2-3 limes)
- 2 tbsp apple cider vinegar (adds brightness and tenderizes)
- 3 tbsp ancho chili powder (creates that rich, deep red hue and smoky base)
- 1 tbsp ground cumin (the warm, earthy backbone)
- 2 tsp smoked paprika (more satisfying smokiness)
- 1.5 tsp dried oregano (Mexican oregano preferred, but regular works)
- 1.5 tsp salt (adjust to your preference later!)
- 1 tsp black pepper
- 1/2 tsp ground cinnamon (secret ingredient for complex warmth)
- Optional but recommended: 1-2 chipotle peppers in adobo sauce (minced; adds smokiness and a kick!)
- 1 cup beef broth (low sodium preferred)
Substitutions & Swaps:
- Low-Sodium Needs: Use low-sodium broth and omit added salt; adjust with herbs later.
- Heat Variations: Omit chipotle for mild, add 1 extra for spicy heat lovers!
- Protein Swap: Pork shoulder (butt) works incredibly well for carnitas-style.
- No Chuck Roast? Boneless short ribs deliver amazing richness.
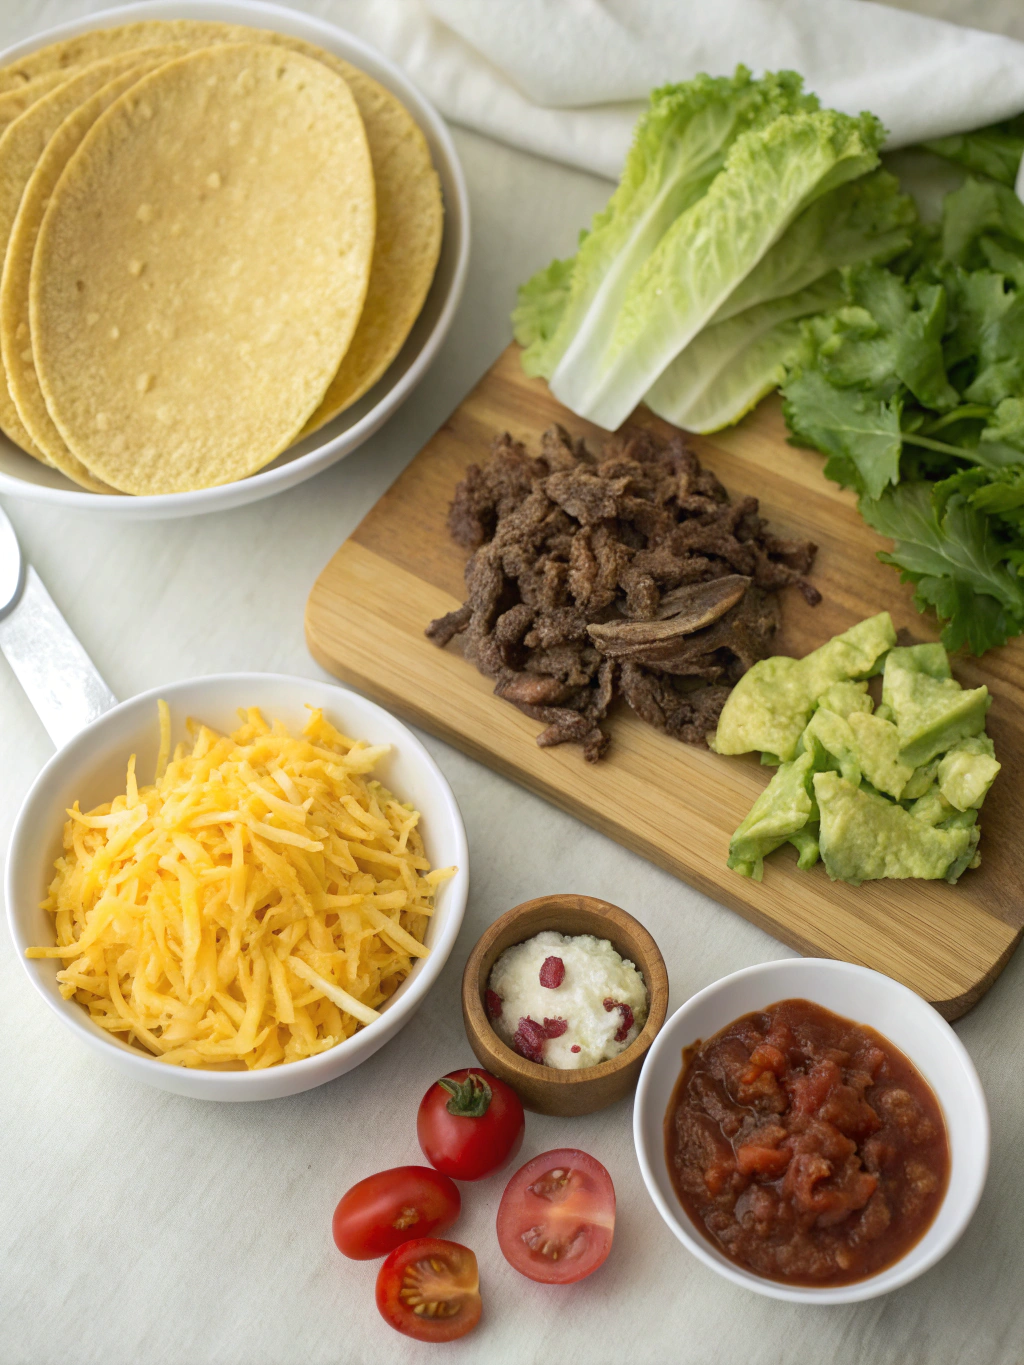
For Serving (The Fun Part!):
- Warm corn or flour tortillas (Street taco size or regular!)
- Toppings Galore: sliced radishes, diced onion, chopped cilantro, crumbled queso fresco or cotija cheese, shredded lettuce or cabbage, lime wedges, sour cream, avocado/guacamole, your favorite salsa (pico de gallo is classic!), pickled red onions.
How Much Time Will This Take?
Don’t let the cooking time scare you – most of it is hands-off simmering while your home fills with those intoxicating aromas!
- Preparation: 20 minutes (marinate)
- Cooking: Slow Cooker: 6-8 hrs low / 3-4 hrs high + 15 min shredding/searing | Pressure Cooker: 75 minutes pressure + 15 min | Oven: 3.5 – 4 hrs + 15 min
- Total Time (Hands-On): Approx 35 minutes (Yes, really! This is 55% less active time than complex braising recipes)
- Key Insight: The “low and slow” method, whether in the oven, slow cooker, or pressure cooker, breaks down tough collagen into melt-in-your-mouth gelatin – absolutely essential for authentic shredded beef perfection.
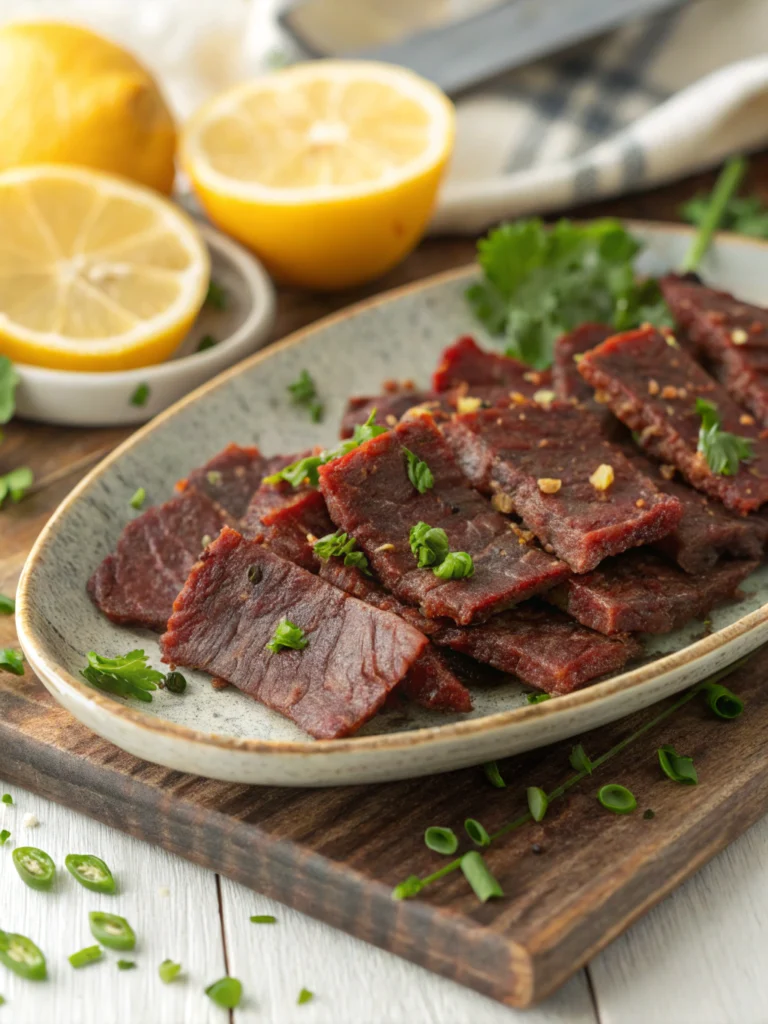
Master the Shredded Beef Taco Recipe in 7 Foolproof Steps
Follow these essential steps to create unforgettable shredded beef for your ultimate tacos:
Step 1: Prep & Marinate the Beef (Your Flavor Foundation)
Start by patting your chuck roast completely dry with paper towels – this is CRITICAL for achieving a good sear later. Don’t skip it! In a small bowl, combine the ancho chili powder, cumin, smoked paprika, oregano, salt, pepper, and cinnamon. Generously rub this spice blend all over every inch of the beef. Place the rubbed beef into your slow cooker, oven-safe pot, or Instant Pot insert. Top it with the chopped onion, minced garlic, lime juice, apple cider vinegar, optional minced chipotle peppers, and pour the beef broth around (not over) the beef. Cover and let it marinate for at least 20 minutes on the counter (or up to overnight in the fridge – flavor intensifies!).
Step 2: Choose Your Cooking Method & Cook Low and Slow
- Slow Cooker: Cook on LOW for 7-8 hours or HIGH for 3.5-4 hours. This gentle heat guarantees unrushed tenderness.
- Instant Pot / Pressure Cooker: Seal the lid and set to HIGH pressure for 75 minutes. Allow for a FULL Natural Pressure Release (NPR) – this takes about 15-20 more minutes. Don’t rush the NPR; it’s crucial for moisture retention and tenderness.
- Oven: Preheat to 325°F (160°C). Cover the pot tightly with a lid or heavy-duty foil. Braise for 3.5 to 4 hours. This method gives you maximum caramelization control.
Step 3: Test the Beef for “Shreddable” Perfection
The beef is ready when it practically begs to fall apart! Insert a fork into the thickest part – zero resistance and pulling apart effortlessly is your goal. If there’s any fight left, cook it longer in 20-minute increments (adjusting for your method). Pro Tip: Cooking too long can make it overly mushy, especially in a pressure cooker. Test early!
Step 4: Shred the Beef & Save That Liquid Gold!
Carefully remove the beef (it will be super tender!) onto a large cutting board or into a large bowl. Fish out the large chunks or leaves of onion and spices with a slotted spoon. Resist pouring everything out yet! Now, using two forks, pull the meat apart into beautiful strands – it should be effortless. Discard any large pieces of fat but retain some for flavor. Crucial Step: Strain the remaining cooking liquid through a fine-mesh sieve into a bowl or measuring cup – this goldmine is packed with concentrated flavor and fat. You’ll use this next.
Step 5: Skim Fat & Reduce the Sauce (Flavor Booster)
Let the strained liquid sit for a minute. Skim off most of the fat layer that rises to the top using a spoon (leave a tablespoon or so for richness if you like). Transfer 1 to 1.5 cups of this skimmed, flavored liquid (not all of it, usually!) into a large skillet or back into the cleaned cooking pot over medium-high heat. Bring it to a simmer and let it cook for 5-8 minutes, reducing slightly to intensify flavor and thicken ever so subtly. This step transforms “juices” into a powerful sauce.
Step 6: Crisp & Sauce the Shredded Beef
Turn the burner down to medium. Add the shredded beef to the hot skillet with the reduced liquid. Stir gently to coat all the meat strands evenly. Cook, stirring occasionally, for 5-10 minutes. You have options here:
- For “Crispy” Edges: Spread the beef into a relatively thin single layer and allow it to sit undisturbed for 2-3 minutes between stirs. The edges will start to caramelize and crisp beautifully.
- For “Juicy” Style: Stir more frequently to keep it sauced but tender, avoiding too much crisping, perfect for barbacoa shredded beef.
Essential Taste: Adjust seasoning now! Does it need a pinch more salt? A squeeze of fresh lime juice? More smokiness (a touch more paprika/chipotle)? Make it yours!
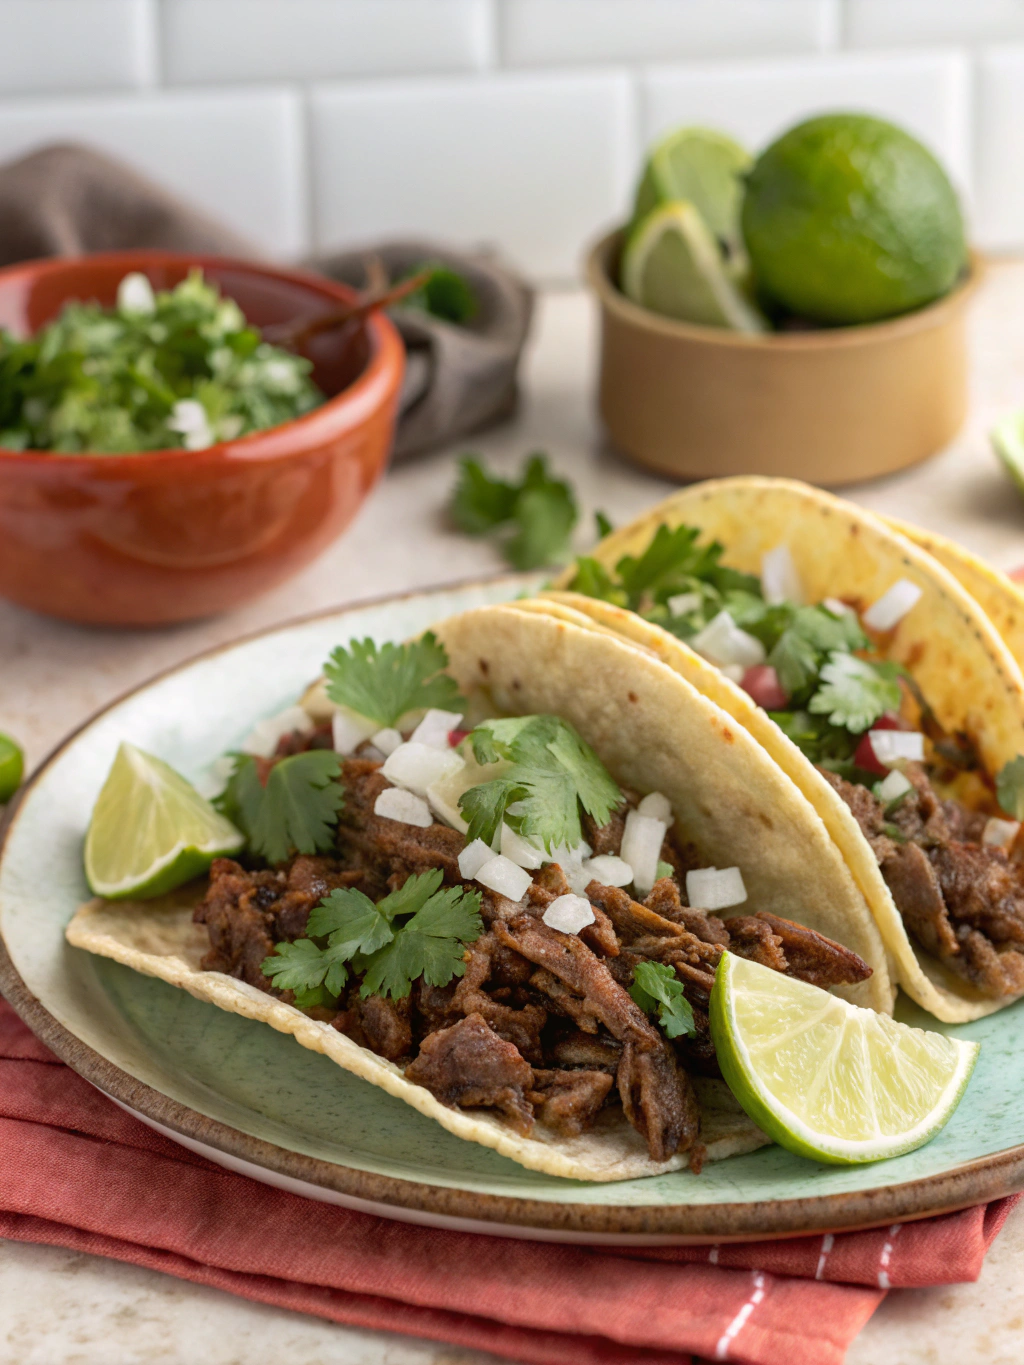
Step 7: Assemble & Serve Ultimate Shredded Beef Tacos
Warm your tortillas! Briefly heat corn tortillas in a dry skillet or over a gas flame, or warm flour tortillas wrapped in foil in a low oven. Spoon generous amounts of your glorious shredded beef onto each tortilla. Now comes the joy: PILE ON THOSE TOPPINGS! Fresh cilantro, white onion, radish slices add crunch and brightness. A dollop of creamy avocado or sour cream balances richness. A sprinkle of salty cotija cheese ties it all together. Don’t forget that extra lime wedge for squeezing! Mix and match to create your perfect bite. Welcome to taco nirvana.
Nutritional Power on a Plate: What’s in My Taco?
(Approximate Values per serving (beef only, about 4.5 oz cooked, without tortilla/topings))
- Calories: ~280 kcal
- Total Fat: 18g (Saturated Fat: 7g)
- Protein: 28g (That juicy chuck roast delivers!)
- Carbohydrates: 3g (A naturally low-carb filling option!)
- Fiber: 1g
- Sodium: ~500mg (Can vary significantly based on broth/salt used – control this easily!)
- Key Nutrients: Excellent source of Iron, Zinc, Vitamin B12, Niacin (B3), Selenium.
Health Insight: Leaner cuts can reduce fat, but chuck roast provides important healthy monounsaturated fats and is rich in bioavailable iron. Using corn tortillas and fresh veggie toppings boosts fiber significantly! According to the USDA FoodData Central database, chuck roast braised provides a substantial protein punch perfect for active lifestyles.
Healthier Twists Without Sacrificing Flavor
Want to lighten things up? Try these smart swaps:
- Leaner Cut Choice: Opt for a bottom round roast or top round. Reduce visible fat trimming after cooking to compensate for potentially less starting fat/moisture. Tip: Add 1 tbsp olive oil back into the reduction sauce/skull step if needed.
- Sodium Savvy: Use unsalted beef broth and reduce added salt. Boost flavor powerfully with extra cumin, oregano, garlic powder, lime juice, and that cinnamon trick. Taste after reducing the sauce!
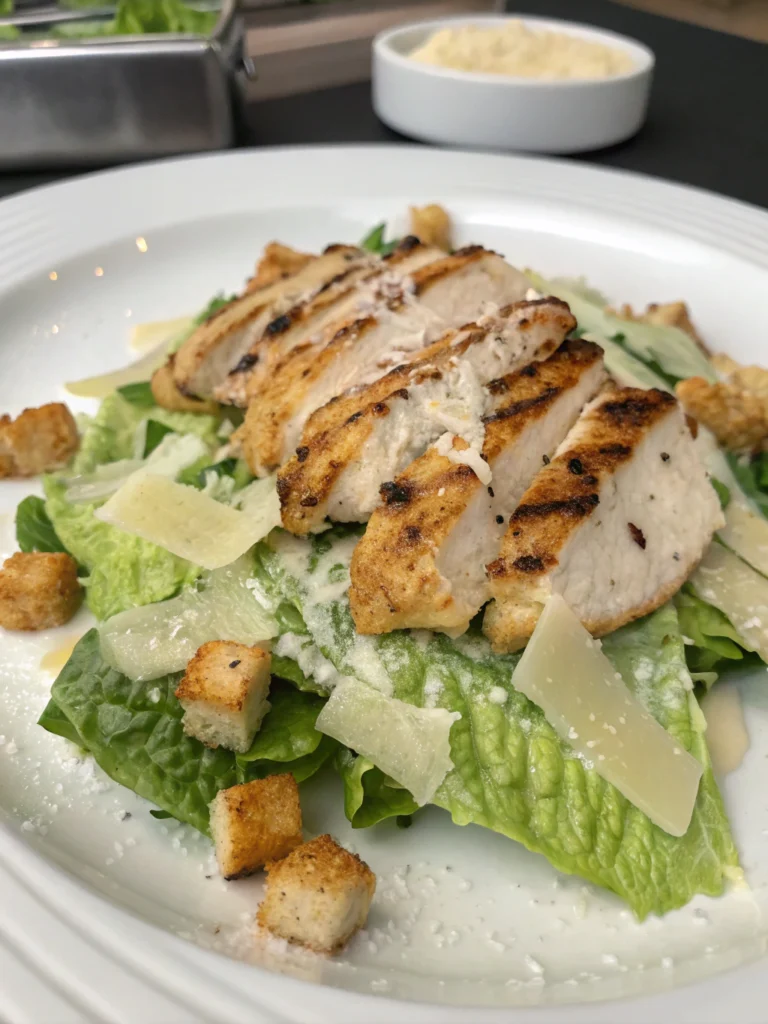
- Lower-Carb/Low-Calorie: Serve your shredded beef masterpiece over crisp lettuce cups or cabbage wraps instead of tortillas for a grain-free, low-carb feast. Combine with healthy fats and veggies for satiety.
- Plant-Based Adaptation: Swap the beef for king oyster mushrooms! Tear them into shreds, toss in the dried spices, and sauté in a smoky oil mixture (like chipotle-infused olive oil) until tender crisp and slightly browned. Deglaze with broth/veggie broth instead. Veggie perfection!
Serving Inspiration: Beyond Basic Taco Night Tuesdays!
Don’t just stop at tacos! This versatile shredded beef is a flavor powerhouse perfect for:
- Taco Bar Extravaganza: Set out warm tortillas (corn AND flour!), all the toppings above, plus options like pickled jalapeños, different salsas (tomatillo salsa verde is amazing!), black beans, charred corn.
- Loaded Nachos Supreme: Spread tortilla chips on a sheet pan, top generously with shredded beef, cheese, and bake! Load on fresh toppings afterwards.
- Heart-Shaped Taco Salad Bowl: Fill large crispy baked tortilla bowls (or a bed of greens) with shredded beef, black beans, corn, tomatoes, avocado, shredded cheese, and light cilantro-lime ranch dressing.
- Epic Beef Burritos or Quesadillas: Wrap it all up! Add rice, beans, cheese, sautéed peppers & onions.
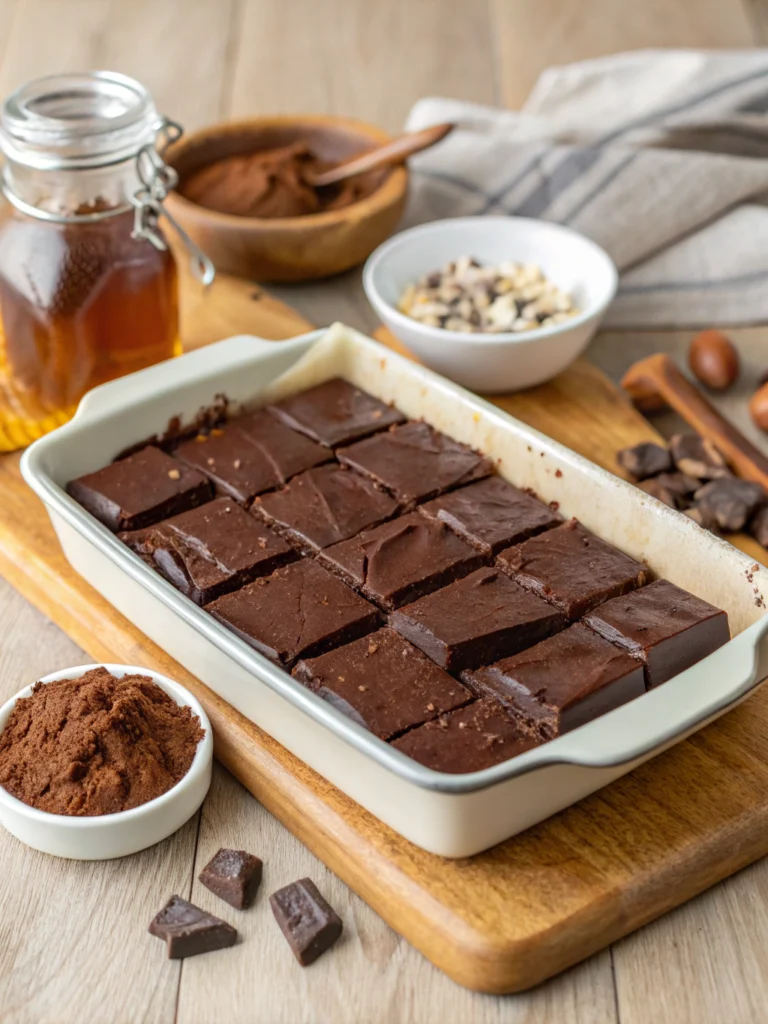
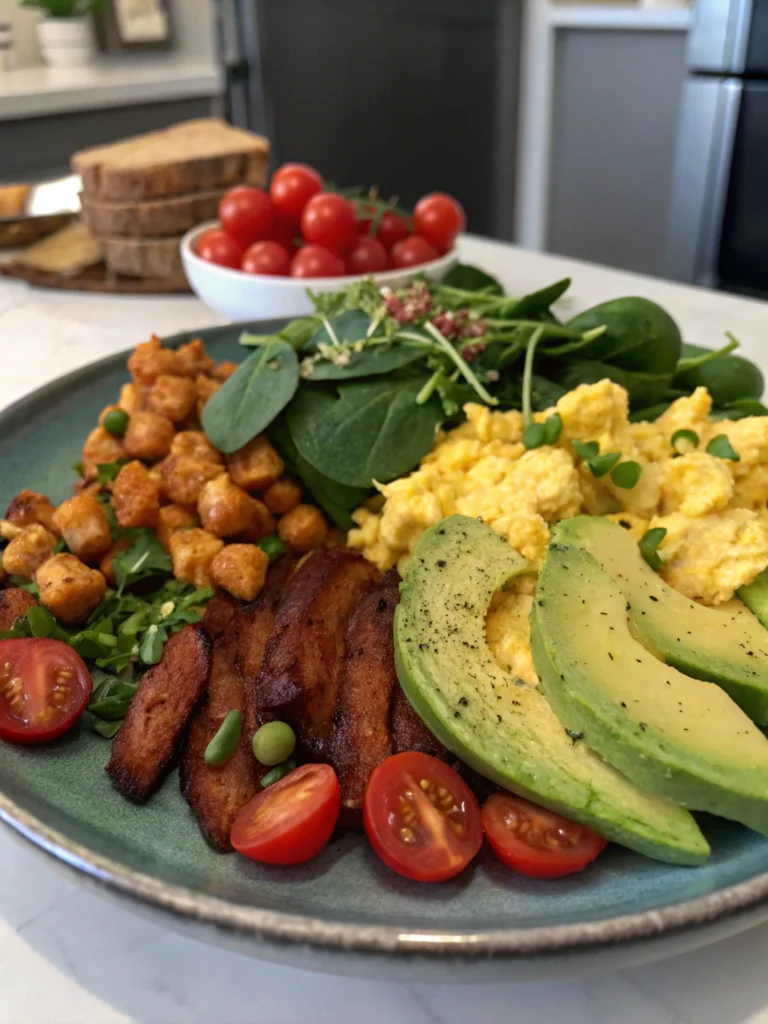
- Breakfast Hash Brilliance: Crisp up leftover shredded beef in a pan, add diced potatoes/cauliflower rice, crack in eggs for a hearty breakfast scramble! Top with avocado and hot sauce.
Avoid These Common Shredded Beef Taco Pitfalls (Trust Me!)
- Starting with Wet Beef: Patting the beef dry before rubbing ensures spices stick and gives you that crucial initial sear or browning potential crucial for flavor depth.
- Choosing the Wrong Cut: Lean cuts like sirloin turn tough when slow-cooked. Stick with well-marbled chuck roast, brisket, or boneless short ribs.
- Skipping the Sauce Reduction Step: Combining the moist shredded beef with plain cooking liquid makes it watery. Reducing that liquid concentrates flavors and clings perfectly to the meat. Don’t skip it!
- Overcooking or Undercooking: Both are enemies! Undercooked beef is tough. Overcooked, especially in a pressure cooker, turns mushy and fibrous. Use the “fork test” religiously.
- Not Seasoning at MULTIPLE Stages: Season the rub, and ALWAYS taste and adjust seasoning after shredding and simmering in the reduced sauce. Flavors concentrate during cooking!
Keep That Flavor Fresher, Longer: Best Storage Tips
Got leftovers? This shredded beef taco recipe might be even better the next day!
- Cooling: Let the shredded beef cool completely to room temperature (never more than 2 hours!) before storing.
- Refrigeration: Place cooled beef in an airtight container. Store separately from any leftover sauce/reduction juices poured over it. It will keep beautifully for 3-4 days refrigerated.
- Freezing: Portion the cooled shredded beef with its juices into freezer-safe zip-top bags or containers. Squeeze out excess air. Label and freeze for up to 3 months for tortilla-filling emergencies!
- Reheating Best Practices:
- Stovetop: Place beef + any juices in a skillet over medium-low heat. Add 1-2 tbsp water or broth and cover. Stir frequently until hot through. Sometimes I add a splash more broth if needed.
- Microwave: Use a microwave-safe dish, cover loosely, and heat in 60-second bursts at 50% power, stirring in between, until warmed.
- Reviving Frozen Beef: Thaw overnight in the fridge. Reheat gently on the stovetop with a splash of broth or water to replenish moisture.
Flavor Pro Tip: Leftover shredded beef freezes exceptionally well and makes for ultra-quick weeknight meals beyond just tacos!
Let’s Get This Taco Party Started!
There you have it – the definitive roadmap to crafting the absolute best shredded beef taco recipe imaginable! We’ve demystified the secrets: choosing the right beef cut, the wonders of low and slow cooking, reducing that liquid into flavor gold, and the perfect finishing crisp or sauced texture. Remember those 7 simple steps – prep & marinate, cook low and slow, test shred, shred & strain, skim & reduce, crisp & sauce, assemble extravagantly. Embrace personalization – crank up the spice, try a leaner cut, or pile on the fresh toppings. This is YOUR journey to forever elevate taco night.
The question is: Are you ready to end the cycle of dry, bland tacos? Grab that chuck roast and start your flavor adventure today! I guarantee it’ll become a family favorite.
Don’t forget to snap a pic of your gorgeous shredded beef taco masterpieces and tag #CookCurveTacos! Share your triumphs or questions below – we love seeing and hearing how it turns out. Craving more ways to revolutionize family dinners? Explore our complete collection of **[shredded beef taco recipe] variations and other **[barbacoa shredded beef,slow cooked beef tacos,mexican shredded beef,instant pot beef tacos inspired meal plans at CookCurve! Happy cooking!
Frequently Asked Shredded Beef Taco Questions
Q: Can I use pre-made taco seasoning instead of the spice mix?
A: Yes, you can! However, liquid reduction step is still crucial. Store-bought mixes vary in salt and flavor intensity, so use them judiciously. I recommend starting with 3-4 tablespoons of your favorite packet, then always adjust seasoning after reducing the sauce, as store packets often lack the depth of fresh spices like chipotle. Taste is key!
Q: Why is my shredded beef tough even after cooking a long time?
A: This usually happens for one of three reasons:
- Wrong Cut: Lean cuts lack the collagen that breaks down into tender gelatin. Use marbled chuck or brisket!
- Not Cooked Long Enough: All cooking times are approximate. Different pieces of meat and equipment vary. Cook until perfectly fork-tender, adding time as needed. Low & Slow is non-negotiable for tough cuts.
- Overcooked & Shred Too Early? Ironically, cooking too long can make it tough again. Ensure it shreds effortlessly.
Q: Can I make shredded beef tacos ahead of time?
A: Absolutely! It’s ideal for meal prep. Cook and shred the beef as directed. Store the shredded beef in its reduced sauce in an airtight container in the fridge for up to 3 days, or freeze it. Reheat gently as described. The flavors often meld and improve overnight!
Q: What’s the difference between shredded beef tacos and barbacoa?
A: Authentic Barbacoa traditionally involves steaming meat (historically from the head of the cow) often underground. In modern cuisine, especially with beef, the terms often overlap. Both prioritize slow cooking and braising until shreddably tender. Barbacoa seasoning often features cloves and bay leaves, giving it a slightly different aromatic profile. This recipe is very much in the spirit of mexican shredded beef/”barbacoa-style” using accessible chuck roast. Don’t be afraid to add bay leaves!
Leave a comment if you try this recipe.
There are no reviews yet. Be the first one to write one.