Creative Recipes You Can Make with a Jelly Roll Pan
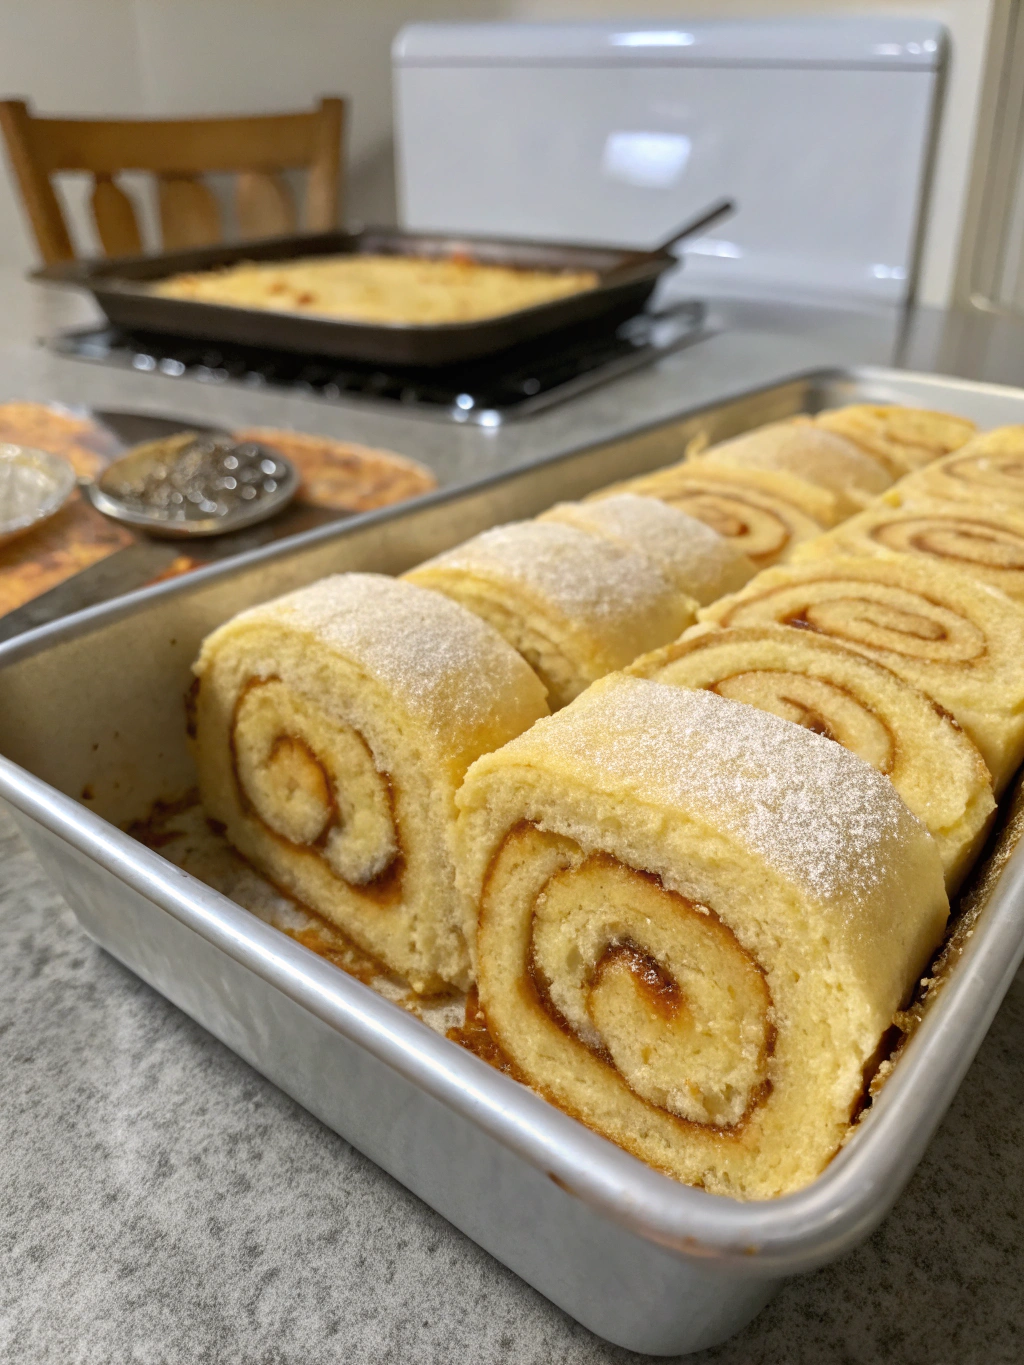
Have you ever wondered if that neglected jelly roll pan gathering dust in your cabinet could be the secret weapon to revolutionizing your home cooking? Most people limit these versatile pans to making classic Swiss rolls, but they’re actually culinary chameleons capable of so much more!
A standard jelly roll pan (typically 10×15 inches with 1-inch sides) creates the perfect canvas for countless creative recipes. From savory sheet pan dinners to decadent desserts, this kitchen workhorse deserves a prime spot in your cooking rotation.
Today, I’m sharing five innovative recipes that will transform how you use your jelly roll recipe pan forever. Let’s dive into these crowd-pleasing creations that maximize flavor while minimizing cleanup!
Recipe 1: Sheet Pan Breakfast Pizza
Ingredients List
- 1 pound pizza dough (store-bought or homemade)
- 2 tablespoons olive oil
- 1 cup shredded mozzarella cheese
- 6 large eggs
- 8 slices bacon, cooked and crumbled
- 1 cup baby spinach
- 1/2 cup cherry tomatoes, halved
- 1/4 cup red onion, thinly sliced
- 2 tablespoons fresh chives, chopped
- Salt and pepper to taste
Substitution ideas: Use turkey bacon for a lighter option, swap spinach for arugula, or try goat cheese instead of mozzarella for a tangy twist. For a vegetarian version, replace bacon with sautéed mushrooms.
Timing
Preparation time: 15 minutes
Cooking time: 20-25 minutes
Total time: 35-40 minutes (30% faster than traditional breakfast casseroles that typically require 50-60 minutes)
Step-by-Step Instructions
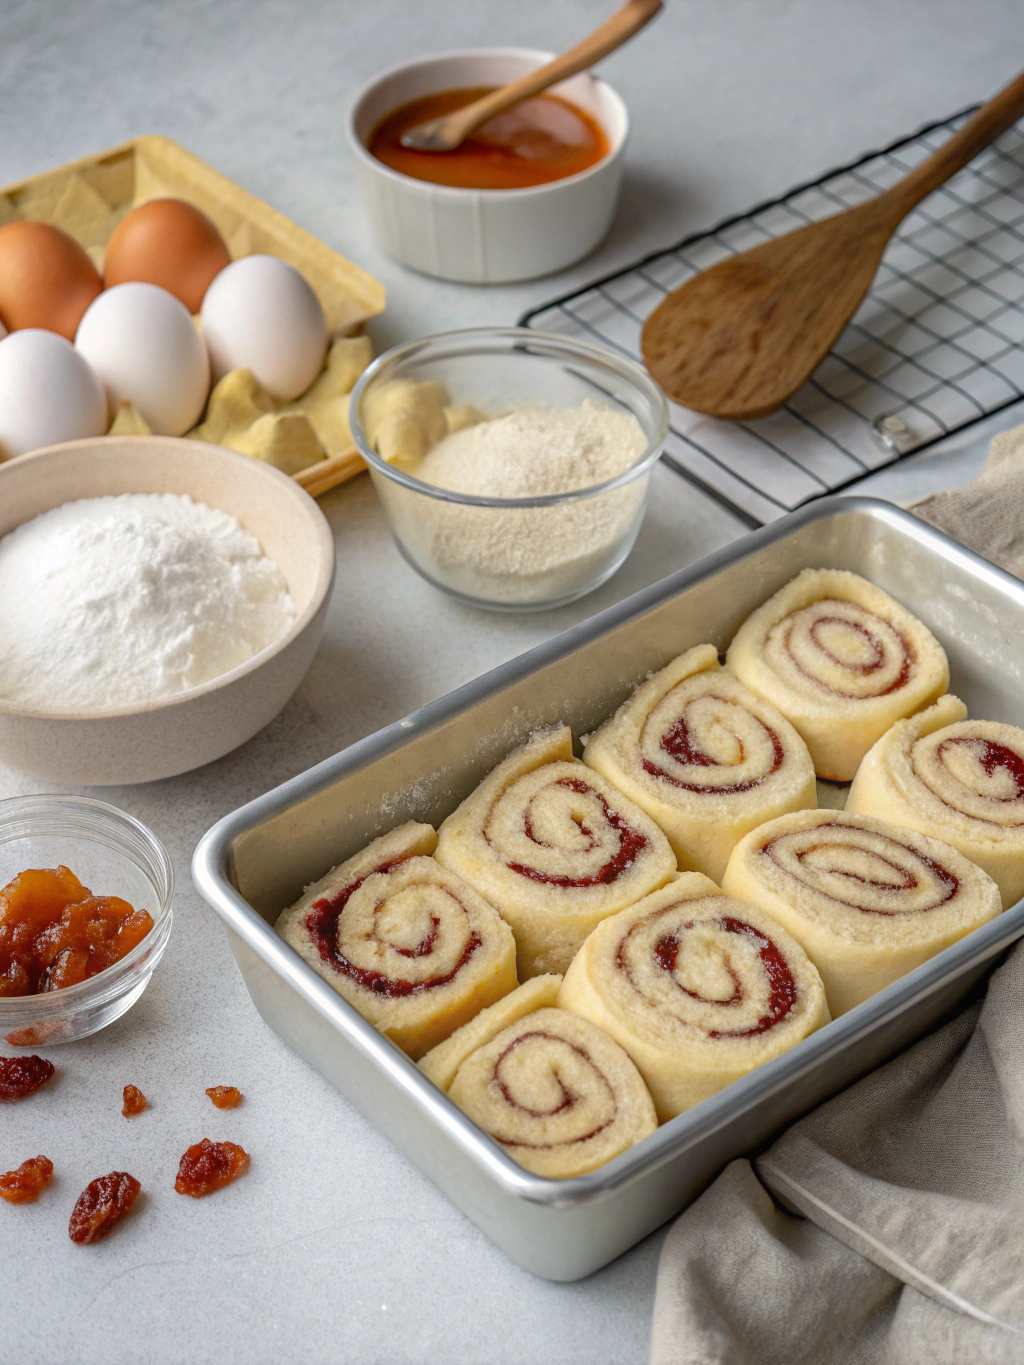
Step 1: Prepare Your Pan and Dough
Preheat your oven to 425°F. Lightly grease your jelly roll pan with cooking spray or a thin layer of olive oil. Stretch the pizza dough to fit the pan, creating a slight lip around the edges to contain the toppings.
Step 2: Create Your Base
Brush the dough with olive oil and sprinkle with half the cheese. This creates a protective barrier that prevents the crust from becoming soggy when the eggs are added.
Step 3: Add Toppings
Scatter the bacon, spinach, tomatoes, and red onion evenly across the dough. Create six small wells in the toppings where you’ll place the eggs in the next step.
Step 4: Add Eggs and Finish Topping
Carefully crack each egg into the wells you created. Sprinkle the remaining cheese around (not directly on) the eggs. Season the entire pizza with salt and pepper.
Step 5: Bake to Perfection
Bake for 15-18 minutes until the crust is golden, cheese is bubbly, and egg whites are set but yolks remain slightly runny (add 2-3 minutes for firmer yolks). Pro tip: Rotate the pan halfway through baking for even cooking.
Step 6: Finish and Serve
Remove from oven and sprinkle with fresh chives. Let rest for 2 minutes before slicing into squares or rectangles. Serve immediately while the cheese is still melty and the eggs are warm.
Nutritional Information
Per serving (1/6 of pizza):
Calories: 320
Protein: 18g
Carbohydrates: 28g
Fat: 16g
Fiber: 2g
Sodium: 580mg
This breakfast pizza provides approximately 25% of your daily protein needs and 15% of your daily calcium requirements, making it a nutritionally balanced morning option compared to traditional breakfast pastries.
Healthier Alternatives for the Recipe
Transform this indulgent breakfast into a more nutritious meal with these simple swaps:
• Use whole wheat or cauliflower pizza dough to increase fiber and reduce refined carbs
• Substitute egg whites for whole eggs to reduce cholesterol and fat
• Double the vegetables for extra nutrients and fiber
• Use reduced-fat cheese or nutritional yeast for a dairy-free alternative
• Try a drizzle of pesto instead of additional oil for flavor with beneficial herbs
Serving Suggestions
Elevate your breakfast pizza experience with these complementary sides:
• Pair with a simple arugula salad dressed with lemon juice for a fresh contrast
• Serve alongside a fruit smoothie for a complete breakfast
• Add a dollop of Greek yogurt mixed with herbs as a cooling sauce
• For brunch gatherings, offer a build-your-own mimosa bar
• Cut into small squares for an impressive appetizer at morning gatherings
Common Mistakes to Avoid
- Overloading the dough: Too many toppings create a soggy center. Stick to a moderate amount for the perfect texture.
- Skipping the pre-cheese layer: This crucial step prevents moisture from the toppings seeping into the crust.
- Not creating wells for eggs: Without wells, eggs will slide around and cook unevenly.
- Opening the oven too frequently: This causes temperature fluctuations that affect cooking time and crust texture.
- Cutting immediately after baking: Give the pizza 2-3 minutes to set, allowing the cheese to slightly cool and making cleaner cuts possible.
Storing Tips for the Recipe
While best enjoyed fresh, leftovers can be properly stored for later enjoyment:
• Refrigerate leftover pieces in an airtight container for up to 2 days.
• Reheat in a 350°F oven for 5-7 minutes for the best texture (microwaving will make the crust soggy).
• For meal prep, prepare all toppings and store separately in the refrigerator for up to 3 days before assembly.
• The dough can be stretched onto the pan and refrigerated (covered) for up to 24 hours before baking.
• Fully assembled pizzas without eggs can be frozen before baking – add eggs just before cooking from frozen (add 7-10 minutes to baking time).
Recipe 2: Crispy Sheet Pan Gnocchi with Roasted Vegetables
Transform store-bought gnocchi into a crispy delight by skipping the boiling step and roasting directly on your jelly roll pan! This technique creates golden, crispy exteriors while maintaining pillowy centers.
Quick Ingredients Overview:
- 1 pound shelf-stable potato gnocchi
- 2 cups mixed vegetables (bell peppers, zucchini, cherry tomatoes)
- 3 tablespoons olive oil
- 2 cloves garlic, minced
- 1 teaspoon Italian seasoning
- Parmesan cheese and fresh basil for serving
Simply toss everything together, spread on your pan, and roast at 425°F for 20-25 minutes until gnocchi is golden and vegetables are caramelized. A complete dinner ready in under 30 minutes!
Recipe 3: Chewy Chocolate Sheet Pan Brownies
The perfect thickness for brownies comes from using a jelly roll pan – not too thin like cookie sheet brownies, not too thick like cake pan versions. These offer the ideal chewy edge-to-fudgy-center ratio!
Quick Ingredients Overview:
- 1 cup (2 sticks) unsalted butter
- 2 cups granulated sugar
- 4 large eggs
- 1 tablespoon vanilla extract
- 1 cup all-purpose flour
- 3/4 cup unsweetened cocoa powder
- 1/2 teaspoon salt
- 1 cup chocolate chips
Bake at 350°F for 18-20 minutes for perfectly chewy brownies that feed a crowd. The shallow depth ensures even baking and perfect texture throughout.
Conclusion
Your humble jelly roll pan is truly a versatile kitchen powerhouse capable of creating everything from crowd-pleasing breakfasts to weeknight dinners and decadent desserts. By thinking beyond traditional Swiss rolls, you’ll maximize this pan’s potential and minimize cleanup in the process.
The recipes shared here just scratch the surface of possibilities. Whether you’re feeding a family on busy weeknights or entertaining weekend guests, your jelly roll pan deserves a prominent place in your cooking rotation.
Have you tried any creative recipes using your jelly roll pan? I’d love to hear your innovative ideas in the comments below! And if you make any of these recipes, tag us in your social media posts so we can see your delicious creations. Happy cooking!
Leave a comment if you try this recipe.
There are no reviews yet. Be the first one to write one.

