Easy & Delicious Ninja Creami Recipes You’ll Make on Repeat
Have you ever wondered if it’s possible to create restaurant-quality frozen desserts at home without the hassle of complicated techniques or expensive ingredients? The secret might be sitting on your kitchen counter right now!
With the innovative Ninja Creami appliance, creating mouthwatering frozen treats has never been easier. Today, I’m sharing one of my favorite ninja creami recipes that will transform simple ingredients into a decadent dessert your family will request again and again.
Ingredients List
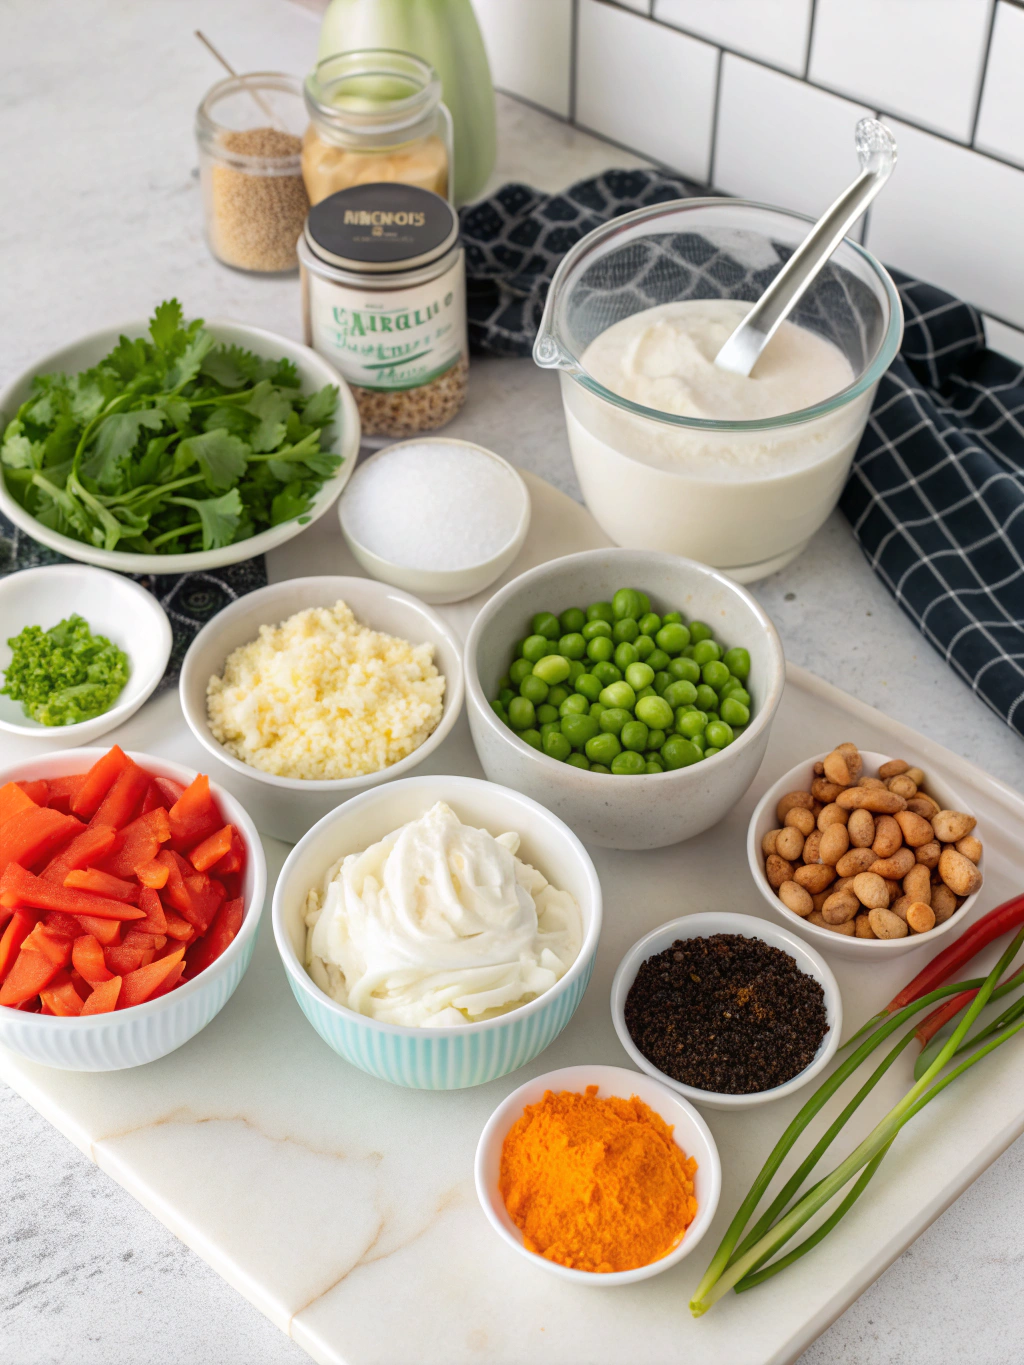
This creamy vanilla bean ice cream with chocolate swirl requires minimal ingredients but delivers maximum flavor. The beauty of ninja creami recipes is their simplicity and adaptability!
- 2 cups heavy cream (substitute with coconut cream for dairy-free option)
- 1 cup whole milk (or almond milk for a lighter version)
- 3/4 cup granulated sugar (honey or maple syrup work well too)
- 2 teaspoons pure vanilla extract
- 1 vanilla bean, split and scraped (optional but adds incredible flavor)
- 1/4 teaspoon salt (enhances sweetness)
- 4 ounces high-quality dark chocolate, chopped
- 2 tablespoons coconut oil
Timing
Preparation time: 15 minutes
Freezing time: 24 hours (minimum)
Processing time: 5-7 minutes
Total time: 24 hours and 25 minutes (mostly hands-off)
While the freezing time might seem long, this recipe requires 75% less active cooking time than traditional ice cream methods that involve tempering eggs and cooking custards. The actual hands-on time is remarkably efficient!
Step-by-Step Instructions
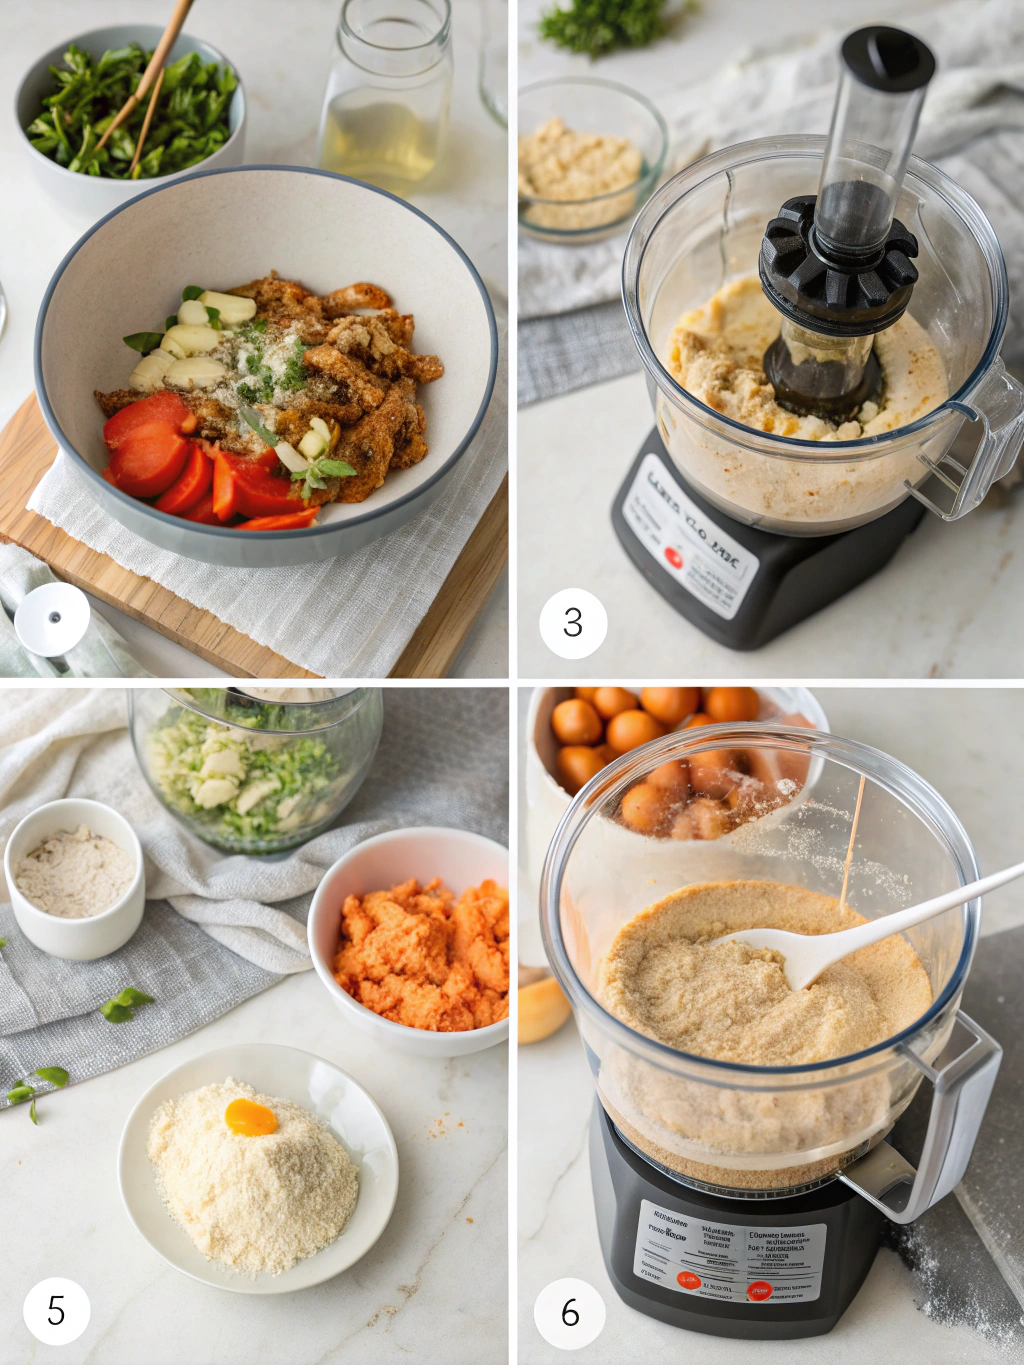
Step 1: Prepare Your Base Mixture
In a large mixing bowl, combine heavy cream, milk, sugar, vanilla extract, vanilla bean seeds (if using), and salt. Whisk thoroughly until sugar completely dissolves, about 2-3 minutes. The mixture should feel smooth between your fingers, not grainy.
Step 2: Prepare Your Ninja Creami Pint
Pour the mixture into a clean Ninja Creami pint container. Leave about 1/2 inch of space at the top to allow for expansion during freezing. Secure the lid tightly and ensure it’s properly sealed.
Step 3: Freeze Properly
Place the pint in the freezer on a level surface. Allow it to freeze for a minimum of 24 hours. For best results, position it away from the freezer door to maintain a consistent temperature. The longer freeze time (up to 48 hours) often yields better texture.
Step 4: Prepare the Chocolate Swirl
About 10 minutes before processing, combine chopped chocolate and coconut oil in a microwave-safe bowl. Heat in 30-second intervals, stirring between each, until completely melted and smooth. Set aside to cool slightly but remain pourable.
Step 5: Process in the Ninja Creami
Remove the pint from the freezer and take off the lid. Insert the pint into the Ninja Creami outer bowl. Secure the outer bowl to the base, attach the appropriate paddle, and lock the lid in place. Select the “Ice Cream” function and press start.
Step 6: Add the Chocolate Swirl
Once the initial processing is complete, remove the lid and drizzle half the chocolate mixture over the ice cream. Reattach the lid and select the “Mix-In” function. After this cycle completes, repeat with the remaining chocolate mixture for a perfect marble effect.
Step 7: Serve or Store
Your ice cream is ready to serve immediately for a soft-serve consistency. For a firmer texture, transfer to a freezer-safe container and freeze for an additional 1-2 hours. Before serving from storage, you may need to use the “Re-Spin” function to restore the creamy texture.
Nutritional Information
Each 1/2 cup serving contains approximately:
Calories: 320
Total Fat: 24g (Saturated Fat: 15g)
Cholesterol: 75mg
Sodium: 85mg
Total Carbohydrates: 25g (Dietary Fiber: 1g, Sugars: 23g)
Protein: 3g
This dessert provides about 12% of your daily calcium needs and 8% of your daily vitamin A requirements, making it slightly more nutritious than many store-bought alternatives that contain artificial stabilizers and preservatives.
Healthier Alternatives for the Recipe
Looking for a lighter version? Try this ninja creami protein ice cream variation that maintains the creamy texture while boosting nutritional value:
Substitute the heavy cream with 2 cups of Greek yogurt for added protein and reduced fat. Replace regular sugar with a monk fruit sweetener or erythritol to lower carbohydrates and calories. Add 1-2 scoops of vanilla protein powder to transform this treat into a post-workout reward.
For a dairy-free option, use full-fat coconut milk instead of heavy cream and milk. The natural fat content ensures a creamy texture without dairy. Adding 1 tablespoon of vodka to the base mixture (it won’t freeze completely) improves scoopability without affecting flavor.
Serving Suggestions
Elevate your ice cream experience with these creative serving ideas:
Create an artisanal sundae by serving a scoop in a warmed waffle bowl with fresh berries and a drizzle of warm caramel sauce. The temperature contrast creates a delightful sensory experience.
For an elegant dinner party dessert, serve small scoops between two thin homemade cookies for sophisticated ice cream sandwiches. Roll the edges in chopped nuts or mini chocolate chips for extra texture.
Make affogato by placing a scoop in a small coffee cup and pouring a shot of hot espresso over it. The melting ice cream creates a creamy, sweet coffee treat perfect for after-dinner enjoyment.
Common Mistakes to Avoid
- Underfreezing: Always ensure your mixture freezes for at least 24 hours. A partially frozen pint will result in a soupy texture that the Ninja Creami cannot properly process.
- Overfilling the pint: Exceeding the fill line prevents proper expansion during freezing and can damage your machine or result in poor texture.
- Using warm ingredients: Make sure all base ingredients are cold before mixing to ensure faster freezing and better crystal formation.
- Skipping the re-spin: If your ice cream appears crumbly after the first spin, always use the re-spin function. This is normal and usually creates the perfect texture on the second processing.
- Opening the freezer frequently: Temperature fluctuations during the freezing process create ice crystals. Keep your freezer closed to maintain consistent temperature.
Storing Tips for the Recipe
For the best texture and flavor preservation, transfer processed ice cream to an airtight container with a piece of parchment paper pressed directly onto the surface. This prevents freezer burn and ice crystal formation.
Store in the coldest part of your freezer, away from the door, for up to two weeks. After this time, the quality begins to deteriorate, though it remains safe to eat.
If the ice cream becomes too hard after extended storage, let it sit at room temperature for 5-10 minutes before serving, or use the “Re-Spin” function on your Ninja Creami for instant restoration of the creamy texture.
For make-ahead convenience, prepare several base mixtures in Ninja Creami pints and store them in the freezer unprocessed. Label with the date and contents, and they’ll be ready for processing whenever a craving strikes!
Conclusion
This delicious ninja creami recipes proves that creating gourmet frozen desserts at home doesn’t require professional training or expensive equipment. With minimal ingredients and mostly hands-off preparation, you’ll achieve results that rival premium ice cream shops.
The versatility of the Ninja Creami means this basic recipe is just the beginning of your frozen dessert journey. Have you tried this recipe or created your own variation? Share your experience in the comments below or tag us in your creations on social media! And don’t forget to explore our other ninja creami recipes for more frozen inspiration!
Leave a comment if you try this recipe.
There are no reviews yet. Be the first one to write one.

